How It Works
Using Gig is simple. Just find a car, unlock, inspect, and go. No need to return the car to the same spot. Simply leave Gig in any approved parking space in the HomeZone and boom—you’re done. All Gigs must begin and end trips in their original HomeZone. Watch our tutorials on YouTube.
We’ve made the difficult decision to conclude Gig operations. As we approach this transition, our services may be limited. We apologize for any inconvenience this may cause.
1 Sign Up
Download the app, scan your license, enter your credit or debit card, and take a selfie. We work diligently on getting everyone reviewed to be able to drive with us. It may take up to 7 days for new Member approval. Sign up is free, but we do a $50 hold to verify funds (it drops off in a few business days.)2 Find a Car
Use the app to see available cars nearby. Book up to 30 minutes in advance, or just walk up to a car on the street. If the windshield light is green, it’s up for grabs.3 Unlock
Unlock a car right from your smartphone or using the Gig Card. Make sure you have bluetooth enabled for best results when using your phone.4 Hit the Road
No key! Just put your foot on the brake and push the “Power” button and drive. You can take a Gig anywhere within the Contiguous United States (excluding Illinois and Texas) as long as your trip ends back in the HomeZone, but our vehicles are not allowed to leave the country at any point. Not ready to end your trip, but need to make a stop? Just click the Lock/Unlock button and select Lock.5 Park Easily
Park for free in any Gig-designated, residential, or permit-only spots within the HomeZone. Do not park within 12-hours of any posted parking restrictions, including street sweeping, no-parking zones, or commercial or loading zones. Check out our parking rules before you go.6 Always Affordable
Only pay for what you use at whichever rate is lowest—by minute, hour, or day. Members are allotted 100 miles per 24 hours. Gas, insurance*, and parking in the HomeZone are all included.Important to know – really!
Wander far, but be prepared
Gig needs to talk to your phone. If there’s low cell service, or your phone battery dies, this conversation can get interrupted — or not happen at all! So, before venturing into areas with spotty reception, be sure to do one or both of the following:
Get a Gig Card, which will always be able to lock/unlock your Gig, no matter the cell service or battery life on your phone. Request one in the app today.
Turn on Bluetooth. This will allow your phone to connect directly to the car quicker — without requiring cell service.
Pro Tip: Places we love to visit, like Stinson Beach in the Bay Area, Tahoe in Northern California, and Mt. Rainier National Park in Seattle, can have spotty reception. Make sure to keep your Bluetooth on and grab a Gig Card. With a Gig Card, you've got another back-up to assist locking and unlocking your car when your phone, Bluetooth, or cell service aren't available.
Help keep these green machines clean
Being a Gig Member is all about sharing, and that means leaving the car sparkling clean for the next Member. Unfortunately, not all Members remember to do this small kindness, so, if you find a car that needs a good cleaning, please submit a request form here.
Refueling
We always do our best to keep the Gigs fueled up and ready for adventure, but if you need a boost, you can:
- Pay for the fuel out-of-pocket.
- Snap a picture of the receipt.
- Submit a fuel reimbursement request form here.
We’ll start processing the reimbursement to your card on file within three business days, the bank can take up to five to complete the process.
Don’t want to pay out-of-pocket? Locate the gas card in the glove box and call Member Support at (800) 464‑0889 for the PIN.
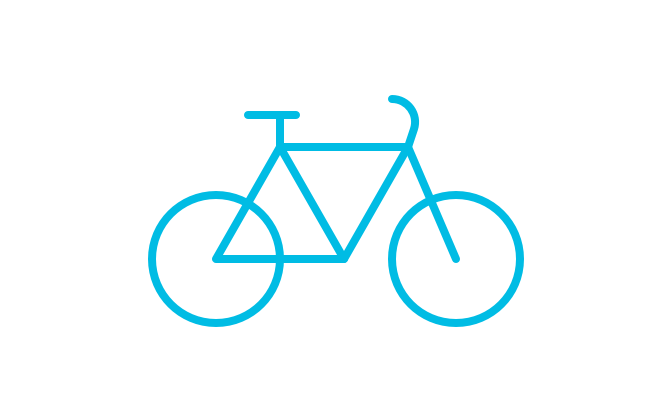
Bike Rack
Take your bike along for the ride. Every Gig car is fitted with two Thule® bike racks. They fit most bikes with a 20- to 29-inch wheel diameter and 2.6-inch tire width—no need to take off any wheels. Once bikes are on board, be careful
where clearance is less than 9'.
Watch Gig's tutorial video to learn more. How
to Put a Bike on the Rack.
- Grab the bike rack key from the glove box.
- Rotate the side arm all the way forward, press the grey trigger, and slide the hook all the way out.
- Put your bike in the wheel tray with front wheel touching support loop.
- Hold the bike and raise the arm near the brake or fork.
- Slide the hook down tightly against the wheel.
WARNING: The arm must be firm against the tire, near the brake or fork.
Give the bike a good shake to make sure it’s secure. - Position the ratcheting strap over the rear tire and secure.
Remember, when bikes are on board, be careful when clearance is less than 9'.